Showing posts with label 5 hours. Show all posts

Monday, August 23, 2010

post number 135


I just got done tearing my top end off for inspection. My rear cylinder was running fifty percent cooler than the front. This seems like a big difference.My daddy and I thought that something must have been wrong with a clearance. We pulled the top end and nothing was binding or ready to break

HEre is the front. I took this pic to show that there isn't any scores on the thrust surface. The moly is starting to rub off of the skirts, which is typical. It just helps for break in.

The main thing to look for on this is the depth of the scratches, if you can catch your fingernail on them, you have problems. These are super light and look bad because of the coating. They are no big deal. The pistons are set up at .005 clearance, we will open them up to .007 or .008 in the morning.

Rear wrist pin bushing looks great,

I found some brass in the oil that i drained out of the motor, which is typical for break in. I had more oil than I would have liked going into the engine. This means that we have to either pull more out or push less in. Putting less into the motor is the easiest, I will put a jet in the feed line tomorrow and see how it goes. Have a nice night, it is two in the morning here ugh. It is going to be crazy in south dakota for the next two weeks!

Tuesday, April 27, 2010

post number 78


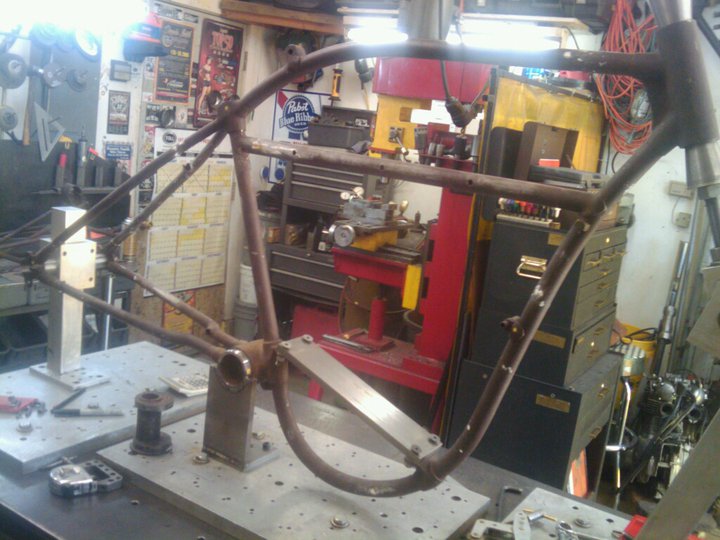
Here is a picture that my friend Chad sent me. He is helping me out with the frame chore. He got most of the jigs made up to complete this job, now he is moving onto the castings. I am very fortunate to have a good network of friends that I can work with in order to move a huge project like this along.


I have been working on this fork fixture all day. What a bunch of work. It is turning out really well though. I will be able to finish it up in the next day or two. I am going to go back to work on customer stuff tomorrow, so the progress will not be as substantial as today.


I took this pic so you could see the tap that I busted and how narrow this frontend actually is. I have to widen it 3/4 of an inch, but I will have something to go off of. Wish me luck, and good night.

post number 77


So here is a pic of the fork diving boards after being cut off and rewelded back in the correct place.


HEre is a pic of the bottom after all the metal finishing


And the top. It is pretty seemless. What a lot of work, check out the previous posts to see how crooked they were before.

Wednesday, January 27, 2010

post number 41


Here is the set up for machining out the old valve guide. I dialed in the outside diameter of the o.g. guide and locked in my mill, then I machined it out and drilled and tapped the head for a 9-16 18 tap. After this set up, I had to flip the cylinder around and mill out the piece of metal that was still in the combustion chamber. I also spent an hour polishing the bases of the cylinders and the wall. They glow like diamonds and look amazing. It is pretty close to the o.g. plating on my original spacke cylinders.


HEre is a pic of the valve guide being threaded. We were able to modify big twin sidevalve valve guides from rowe. They are made out of cast iron which is ideal.


Here is a pic of the modified valve guide next to the donor one. This is a fix that my friend Steve recommended, and I think that it makes a lot of sense, The cylinder does not have very much meat to it after machining, so I would be a little apprehensive of a pressed in valve guide. I will give this a try and hopefully it will be a trouble free fix.

Thursday, December 10, 2009

Post number 30


The top piece is the blank for my toolbox door. The length of the lip that has to roll over the .125 drill rod is .350.


Here is the piece after it was bolted to the buck and the edges were bent over. I need to refine my lay out of the edges so that the corners do not overlap each other when they bend over the rod.


Here is a pic that gives you an idea of what has to happen to make these edges. It is a lot of work, but very rewarding.

Friday, December 4, 2009

AHHHHHHHHHHHHHHH!!!!!!!!!!!


I tried to take my flywheels out of the cases yesterday. It was miserable! There are two sets of flywheels, and It is very awkward to say the least. I am kind of stuck on this step, but I will get it.


In this pic you can see the inner pinion flywheel, and the outer sprocket flywheel. I cannot seam to get the sprocket side flywheels separated. This is a real challenge! Check out the articulating rods. What a bizarre set up!